Example Foundation Repair Projects in Redmond

The four examples below come from Redmond, Woodinville and Carnation. Each one gives the house, the request, the scope of work, the steps and a cost estimate.

None of the examples is a past job, a client or an address. They illustrate the work we plan and quote.

Helical piers along a narrow side yard

Example project
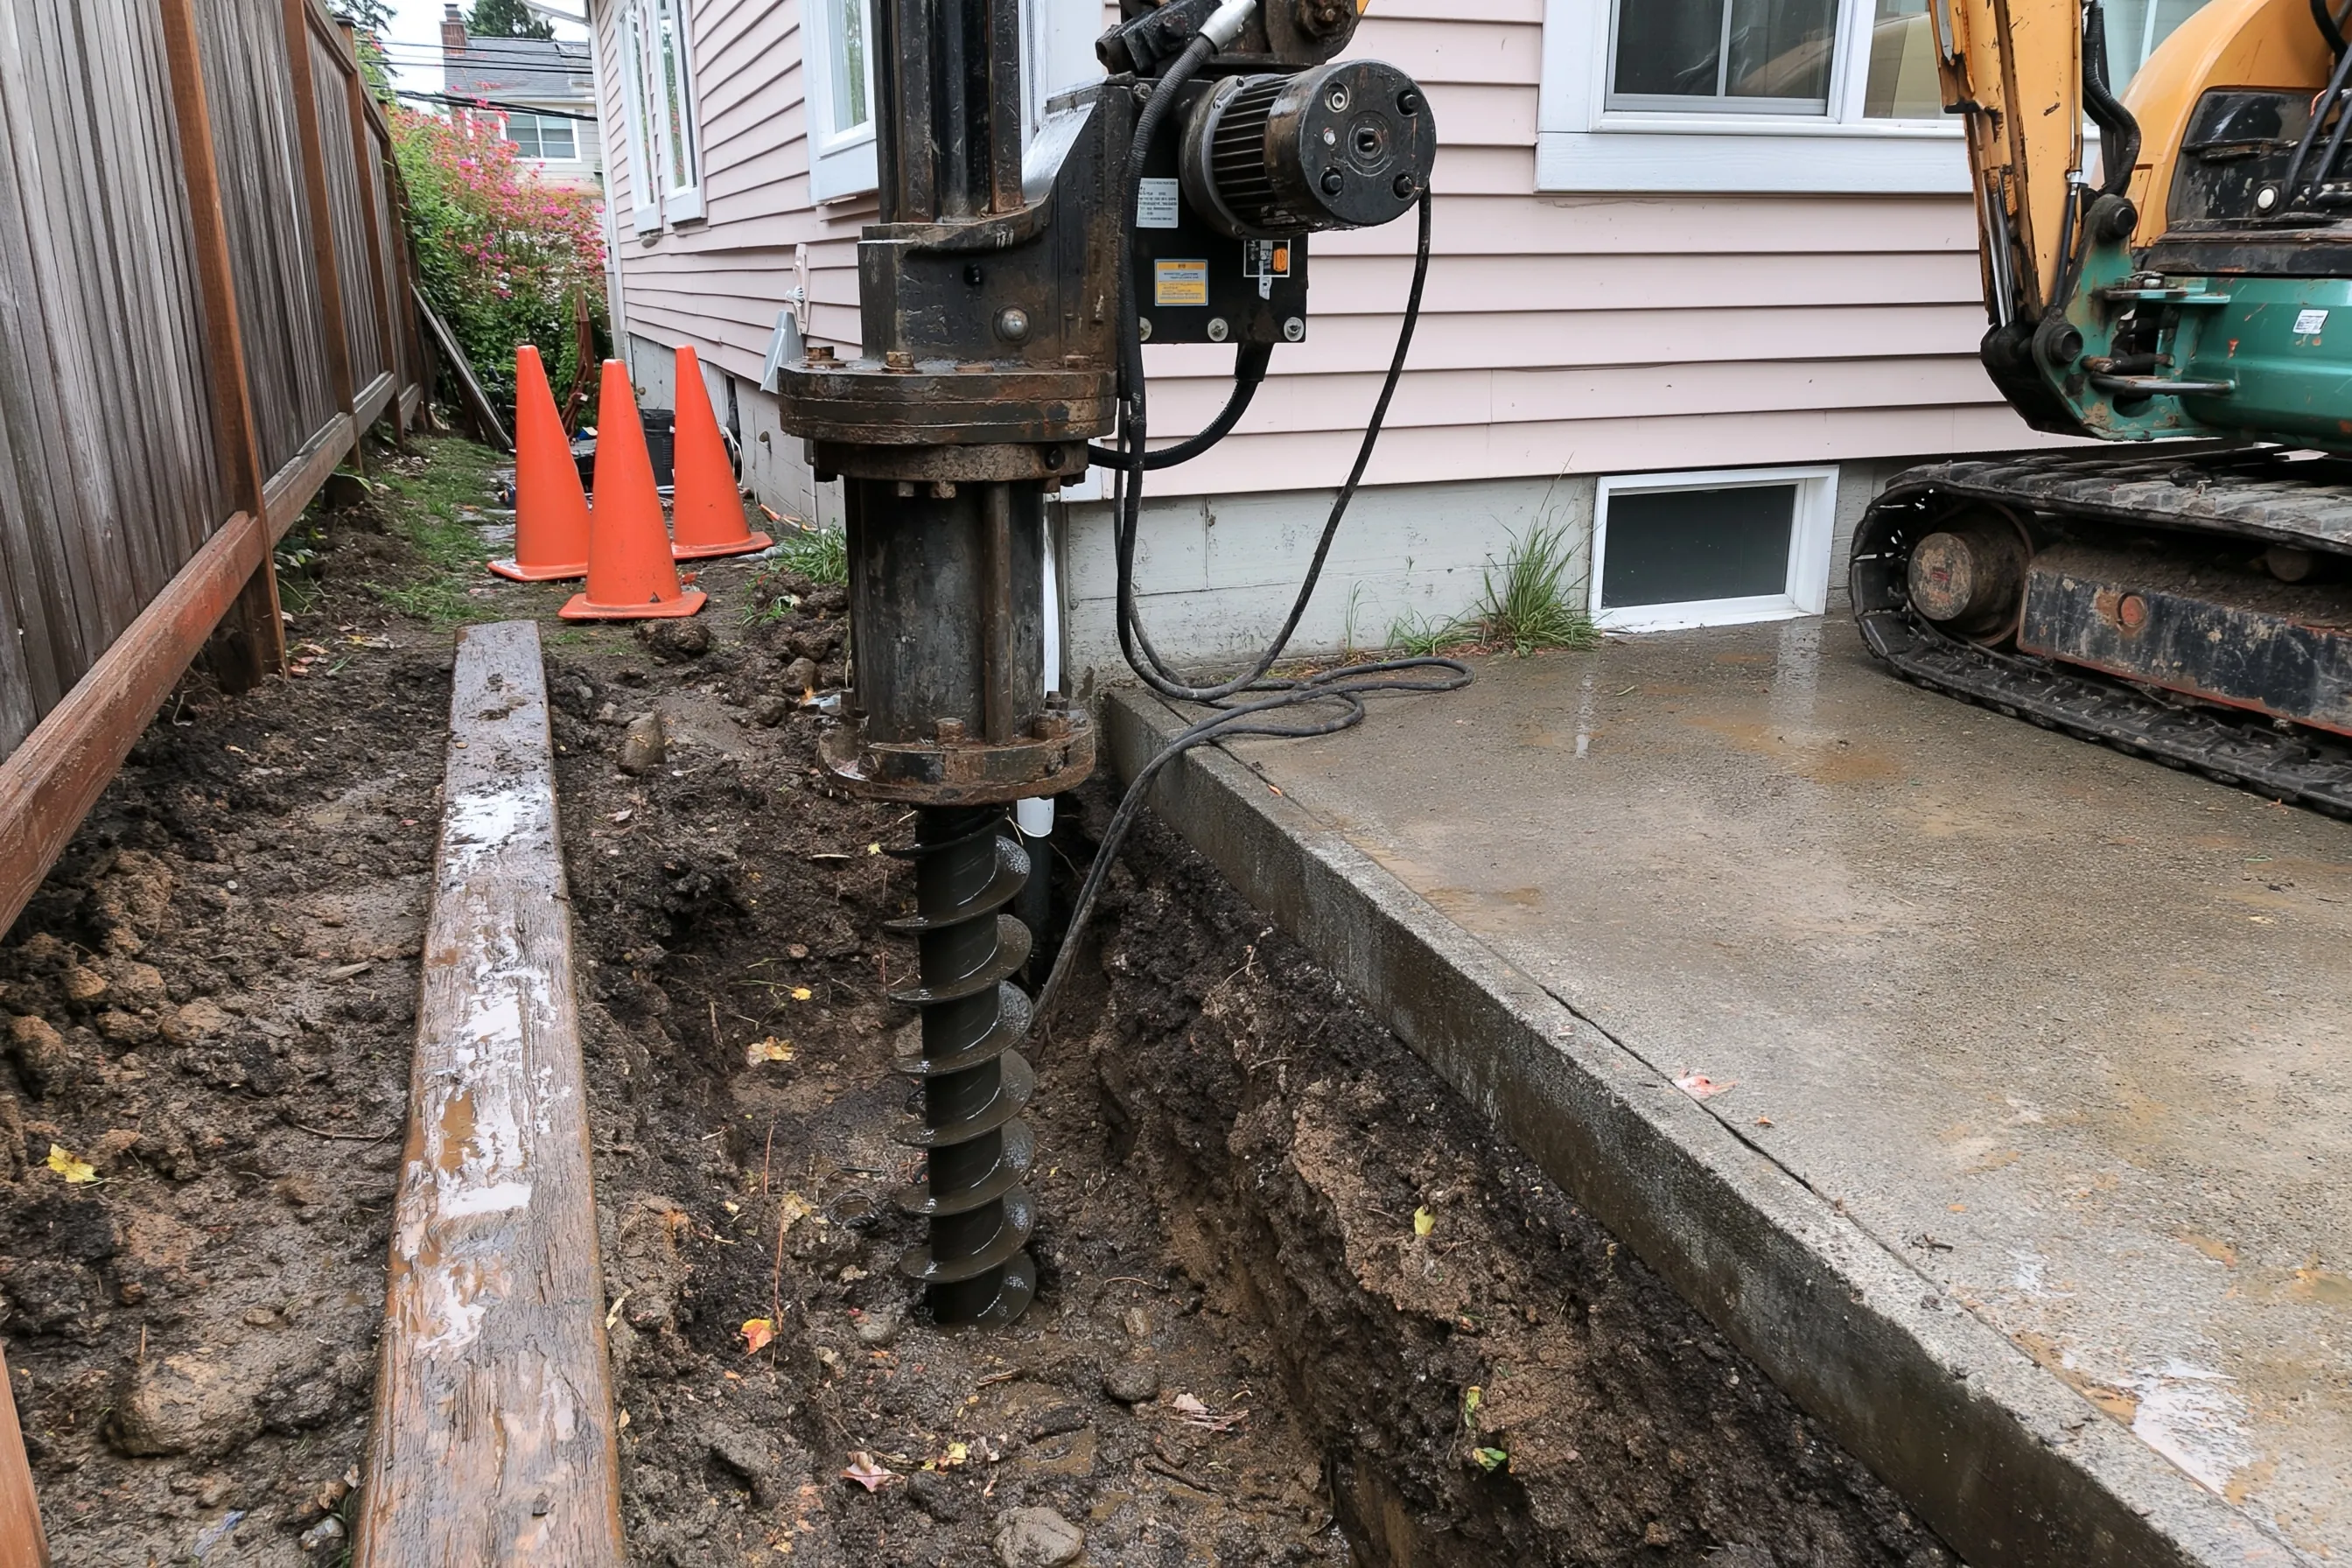
Side of a pale pink lap-sided house with a basement window, a narrow side yard with a wood fence, a trench with a black helical shaft turned by a drive head on a compact excavator, orange cones and a concrete slab
Home
Lap-sided house in Redmond with a basement window in the foundation wall
Original request
A corner that has dropped, on the side with the narrowest yard
Access
A strip between the house and a wood fence, reached by a small machine
Piers
Three or four steel helical shafts turned in beside the footing
Not included
Fence repair and replanting
Cost
$9,500

Scope of work

A trench beside the footing, three or four helical shafts turned in with a drive head on a small excavator to the depth the plan calls for, brackets to the footing, backfill and cleanup. Fence work, replanting, an engineer’s design and permit costs are not part of this cost.

Project overview

In this example, the owners of a lap-sided house in Redmond see a corner drop on the side where the yard is narrowest. A wood fence stands a few feet from the wall, and a basement window sits in the foundation.

A small excavator with a drive head fits in the strip. The plan turns three or four helical shafts in beside the footing to the depth the plan calls for, and says where an engineer’s design or a permit applies.

The goal

The goal is a corner carried on helical shafts to the depth the plan calls for, reached through a narrow yard.

Process

  1. Before work The strip is measured for the machine, the corner is measured and the plan and permit question are written.
  2. Dig A narrow trench is dug beside the footing, with cones and boards along the fence.
  3. Shafts The drive head turns each shaft in to the depth the plan shows.
  4. Close up Brackets are fitted, the trench is backfilled and the strip is raked out.

Planning right

  • Measure the width of the side yard, including gates, so we know what machine fits.
  • Tell us about buried lines, such as a sprinkler or gas line, along that side.
  • Ask for the depth and count of shafts to be written in the scope.
  • Warn the neighbor about the noise and the machine.
Get a free quoteMore about settlement and piers

A single diagonal crack with moss and a damp stain below it

Example project

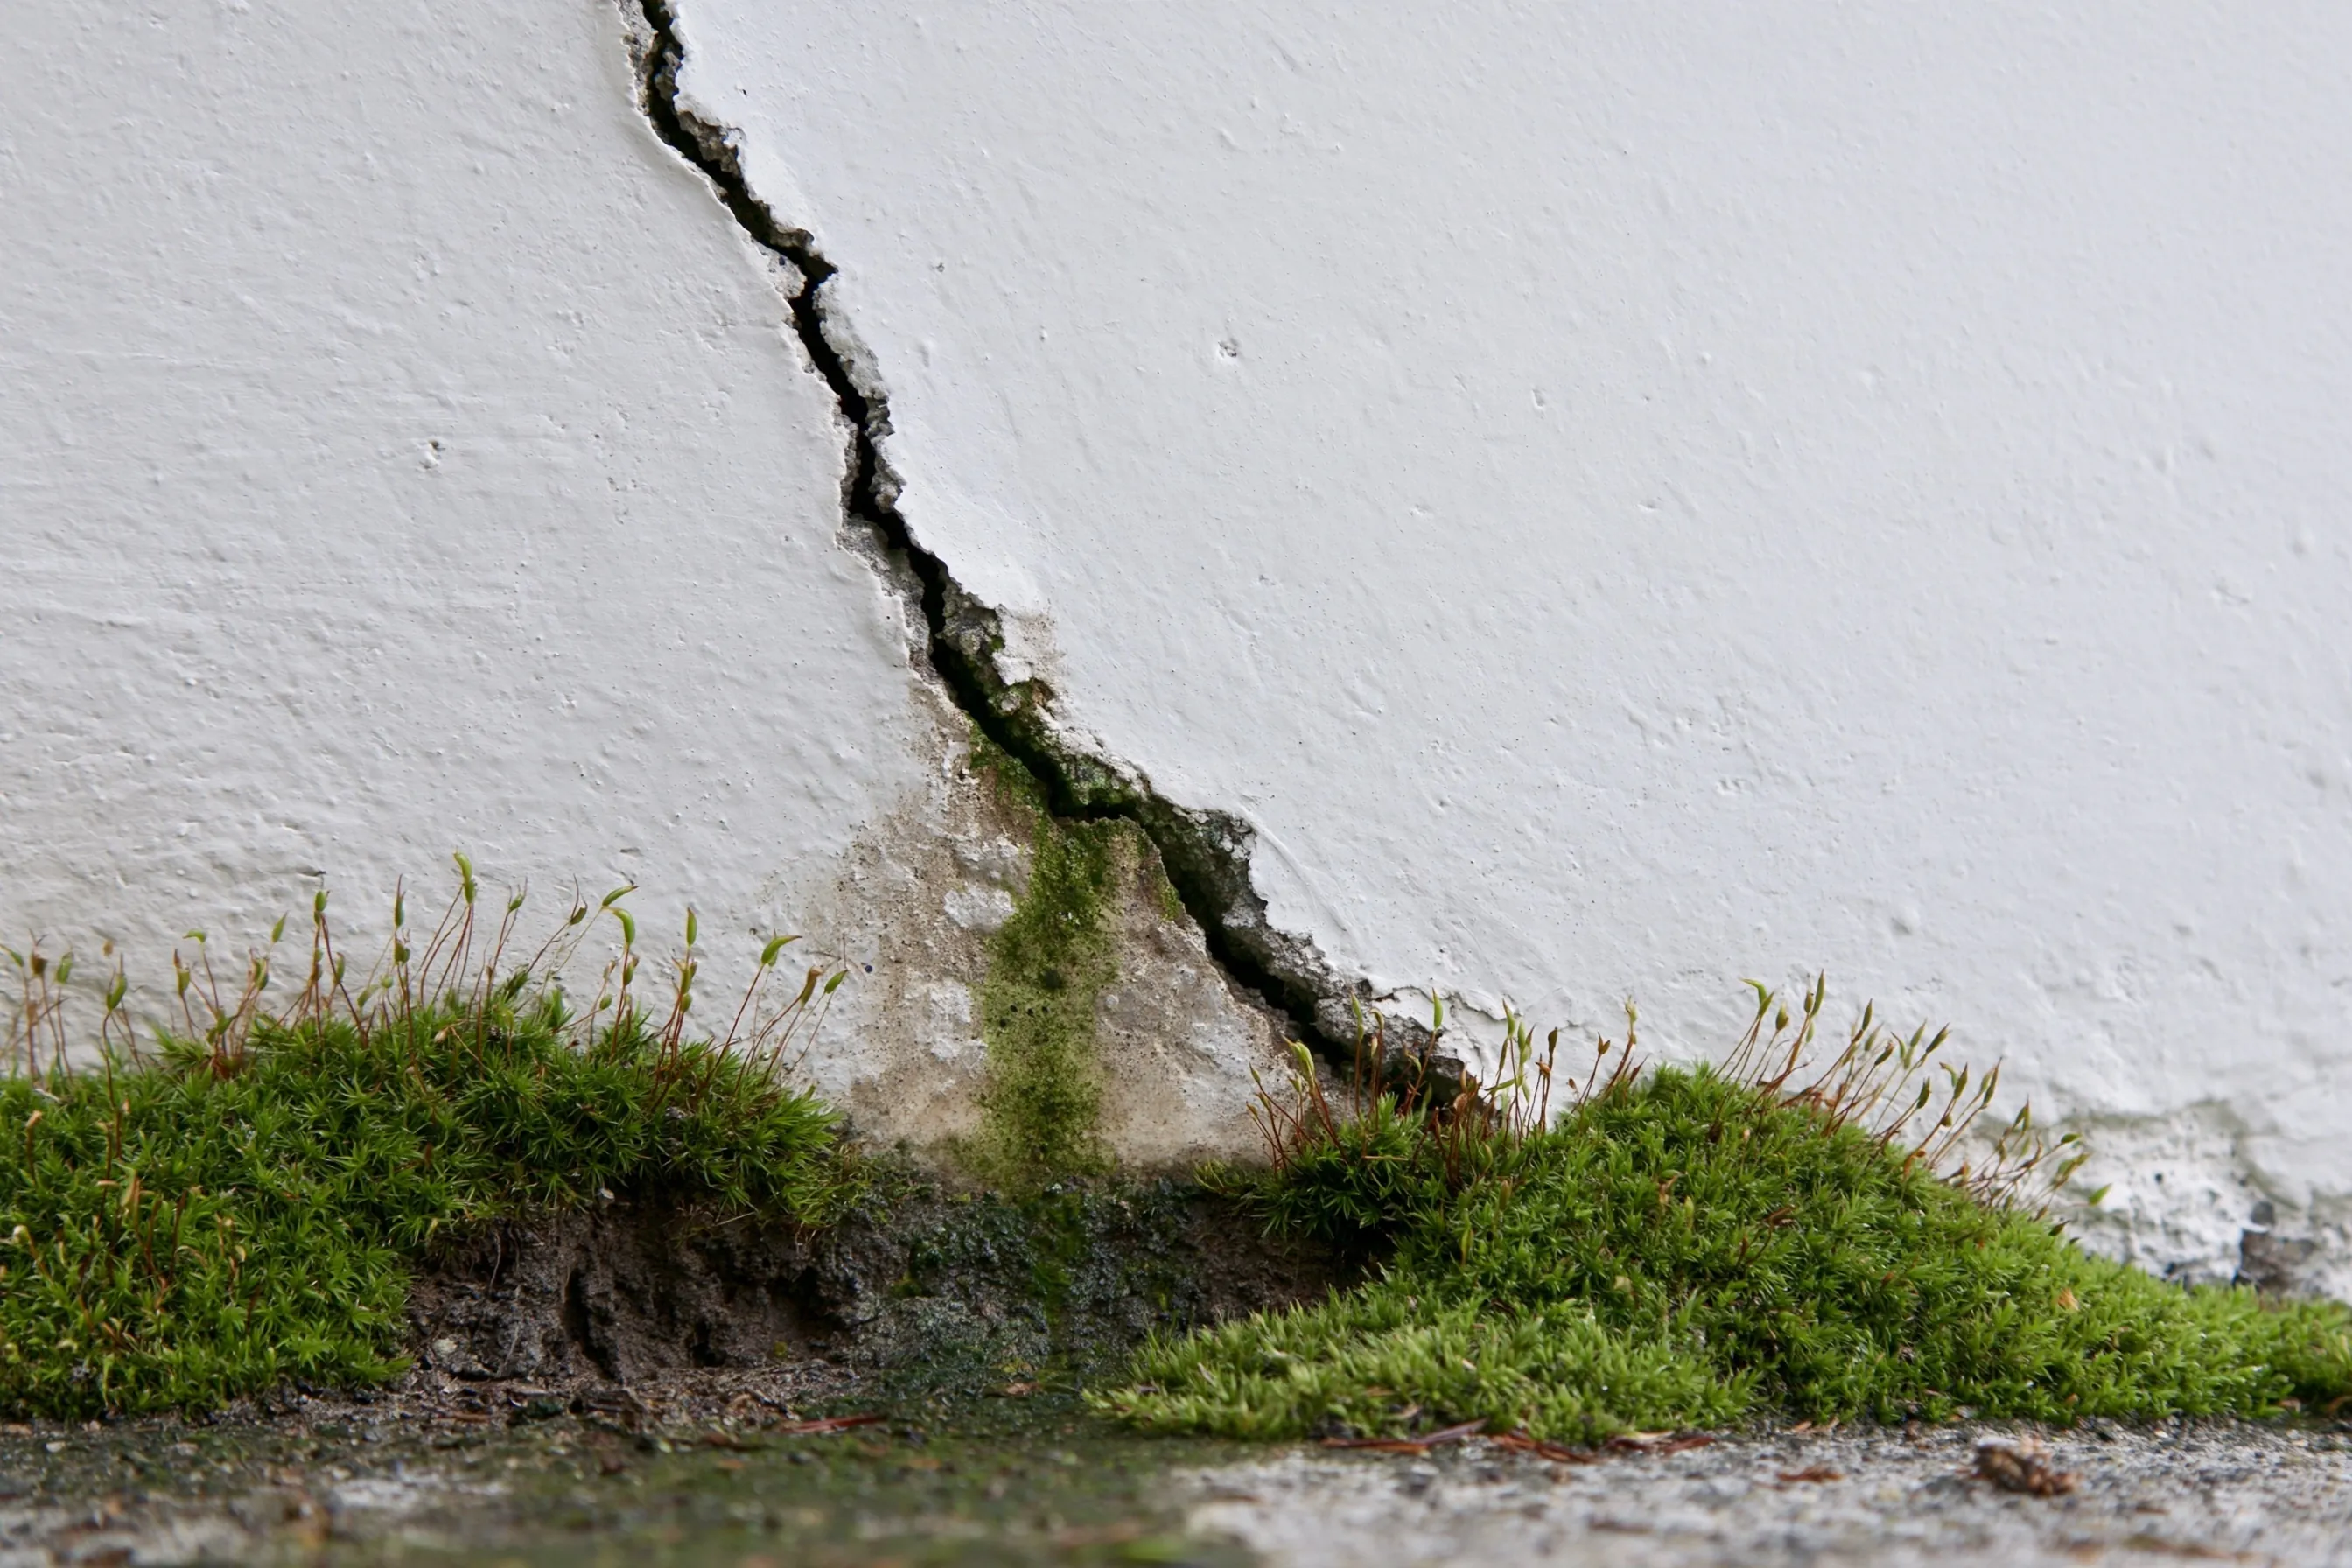
Close view of a white-painted wall with one diagonal crack running down to the soil, moss on both sides at the ground and a damp stain and green growth under the crack
Home
House in Woodinville with a white-painted foundation wall
Original request
One crack that has begun to leave a green stain
Crack
A single diagonal line from the wall down to the soil
Base
Moss on both sides of the crack and a damp stain below it
Not included
Repainting
Cost
$900

Scope of work

Measuring the crack, clearing the moss and loose material, and sealing the crack from the inside where the wall can be reached, with a surface seal on the outside face. Repainting is not part of this cost.

Project overview

In this example, the owners of a house in Woodinville see one diagonal crack in a painted foundation wall. Moss has started to grow on both sides of it at the soil, and a damp stain runs below.

The crack is a single run, so the plan treats it as one crack and measures it twice before sealing. The damp at the base is looked at, since sealing the wall does not move water away from it.

The goal

The goal is a single crack measured, sealed and checked again, with the damp at its base written up.

Process

  1. Before work The crack is measured at both ends, marked and photographed, with the base photographed too.
  2. Clean Moss and loose paint are cleared along the crack.
  3. Seal The crack is sealed from inside if the wall can be reached, and on the outside face to match.
  4. Check The base is looked at again after the next heavy rain.

Planning right

  • Mark each end of the crack with the date.
  • Tell us whether the crack is above a window or a door.
  • Ask where the damp stain at the base comes from.
  • Ask for before and after photos of the wall.

Get a free quoteMore about foundation crack repair

A drain channel and sump basin around a basement

Example project

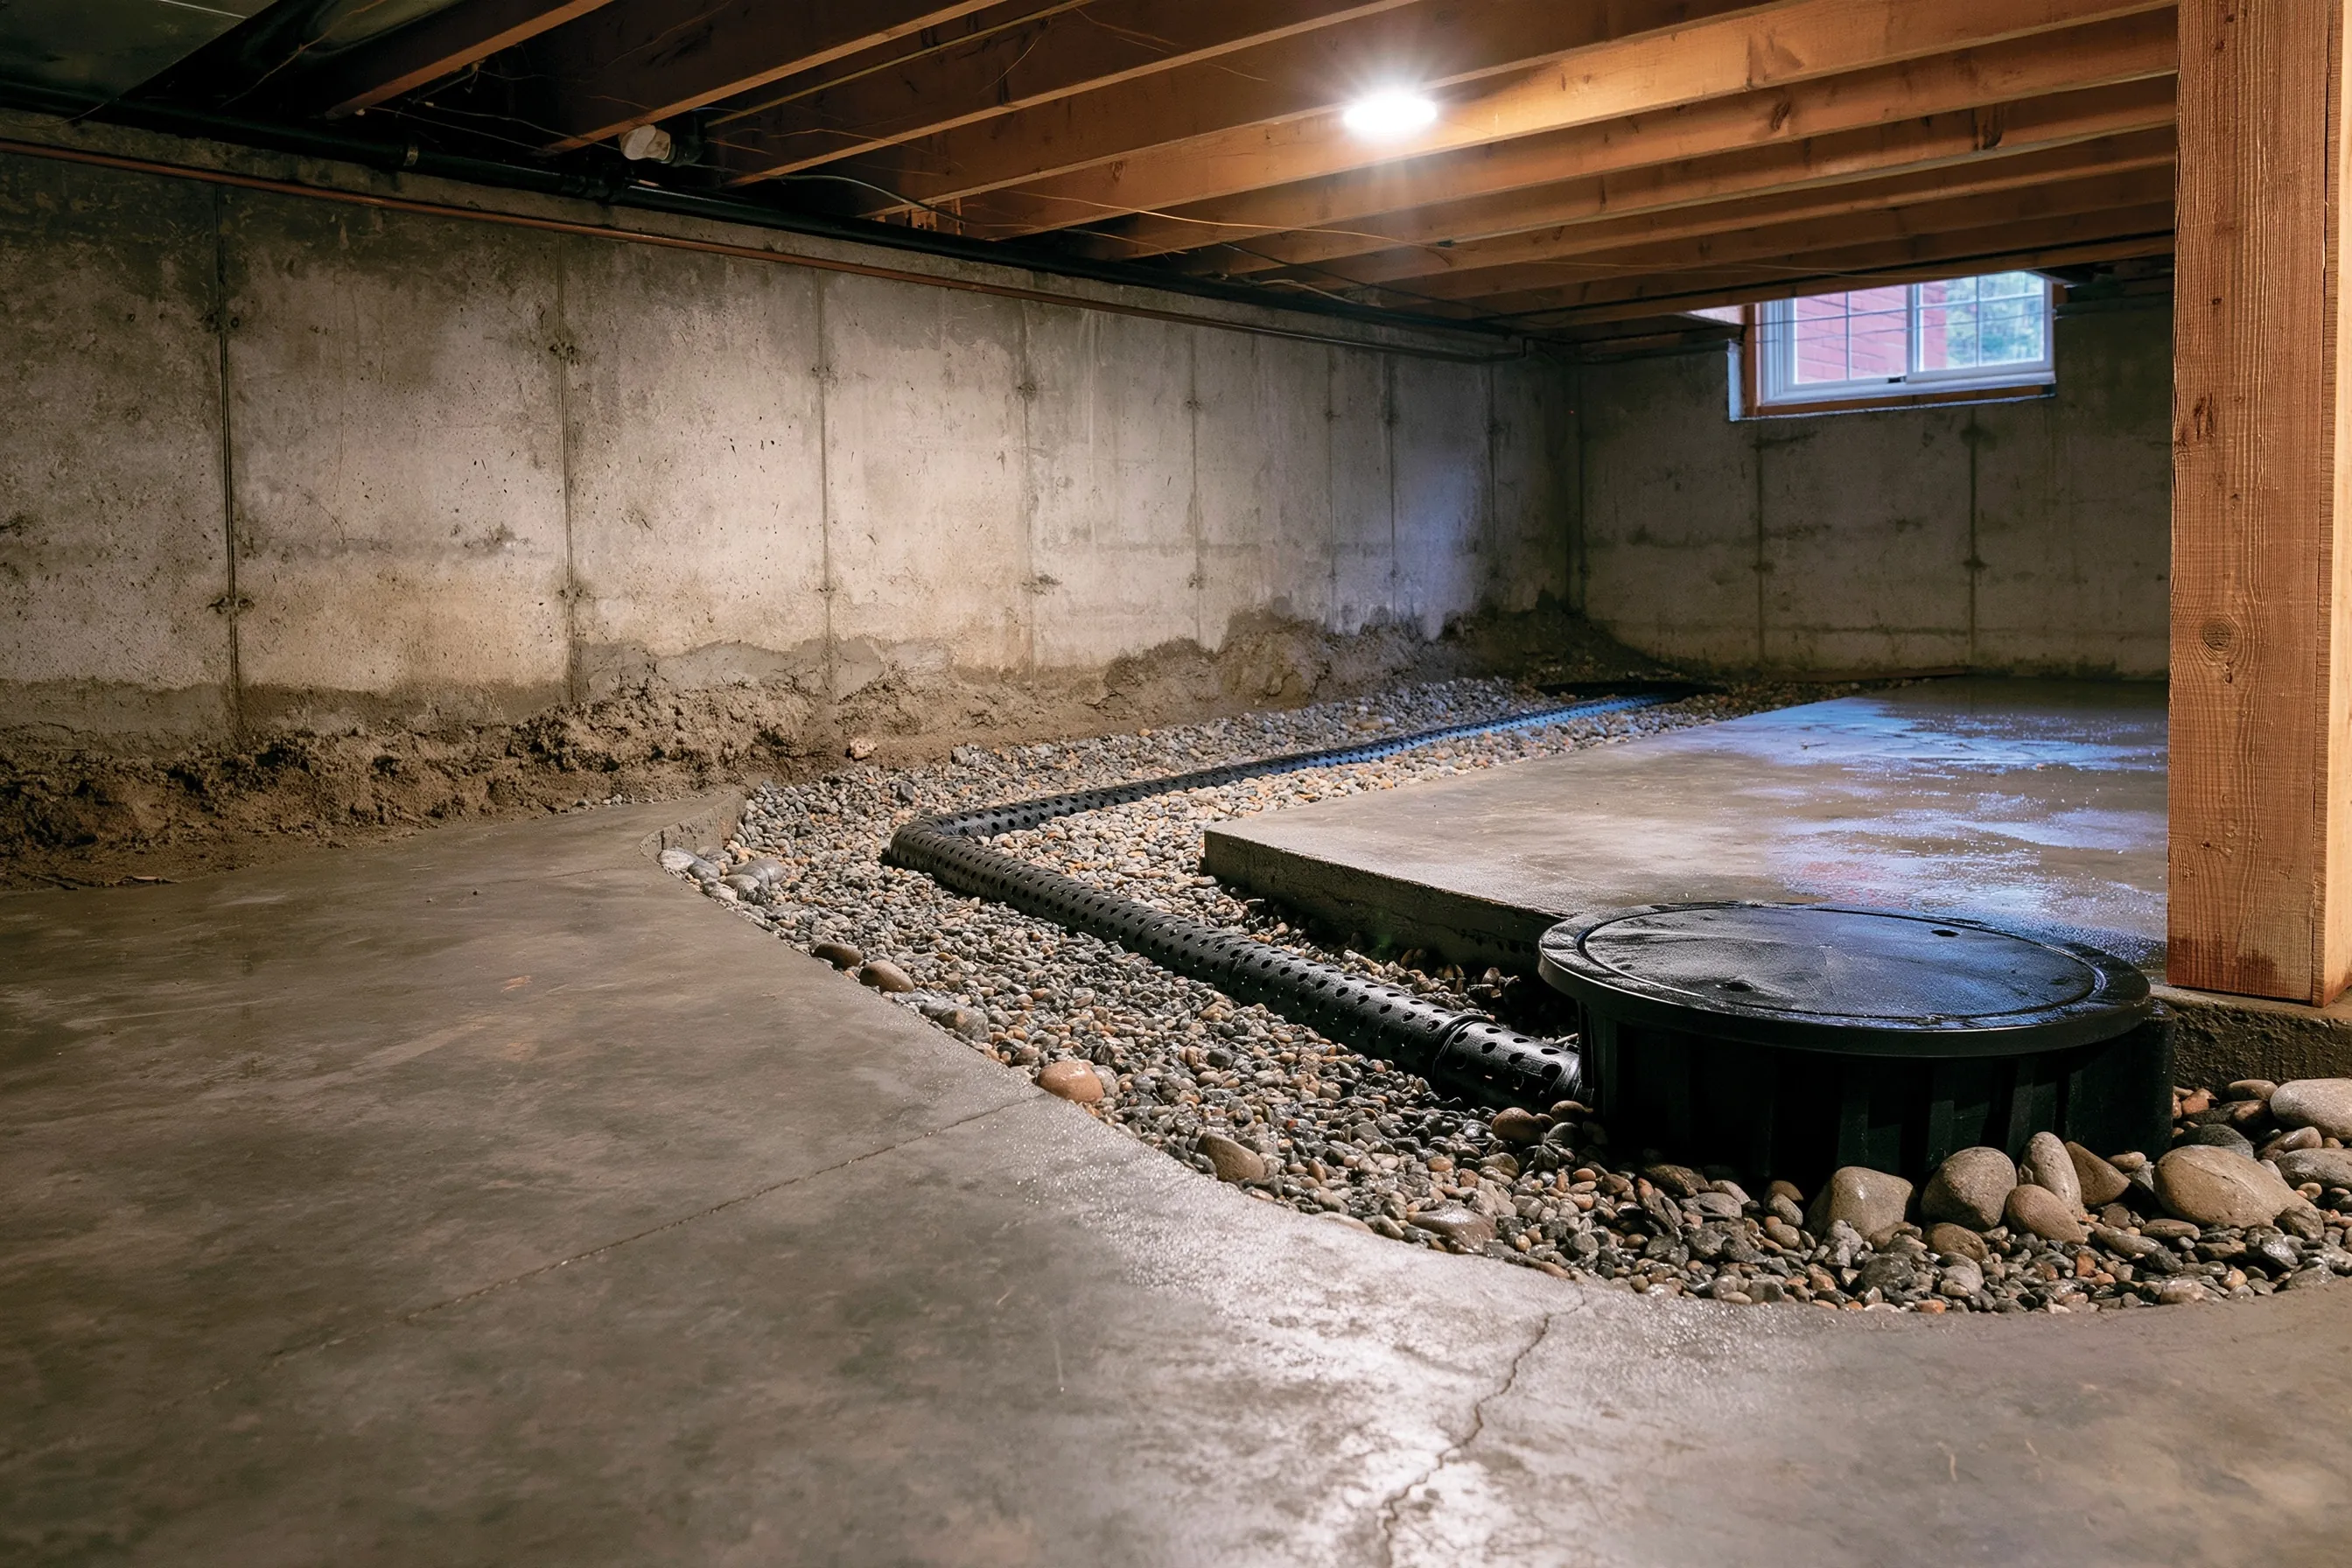
Basement with exposed joists and poured-concrete walls, a black perforated pipe in a gravel channel along the wall base leading to a round lidded basin, with new concrete floor beside it
Home
House in Redmond with a poured-concrete basement
Original request
A damp band along the base of the walls after winter rain
Channel
A gravel trench along the base of the wall with a perforated pipe
Sump
A round basin with a lid, in the corner
Not included
Wall and floor finishes
Cost
$11,500

Scope of work

Cutting the floor edge around the perimeter, a perforated pipe in washed gravel along the wall, a sump basin with a pump and lid, a discharge line to a safe outlet and new concrete to close the channel. Finishes are not part of this cost.

Project overview

In this example, the owners of a house in Redmond find a damp band along the base of the basement walls after winter rain. The walls are poured concrete and the floor is bare.

The plan collects the water inside, at the base of the wall. A pipe in gravel runs around the room to a sump basin, and a pump sends the water out through a discharge line.

The goal

The goal is water collected at the base of the walls and sent to a sump, with the pump and discharge written down.

Process

  1. Before work The damp pattern is mapped, the sump spot is chosen and the outlet outside is planned.
  2. Cut A strip of the floor along the walls is cut out and the pieces are hauled away.
  3. Drain The pipe goes in gravel and falls toward the sump basin.
  4. Close up The pump and discharge are set, the channel is closed in concrete and the system is tested with water.

Planning right

  • Mark the damp pattern on the wall with chalk after a rain.
  • Ask where the discharge will go and how it avoids freezing or backing up.
  • Ask who services the pump and what happens in a power cut.
  • Keep finishes off the wall until the drain is proven.

Get a free quoteMore about foundation drainage

Three posts replaced beside a damp, dark sill

Example project

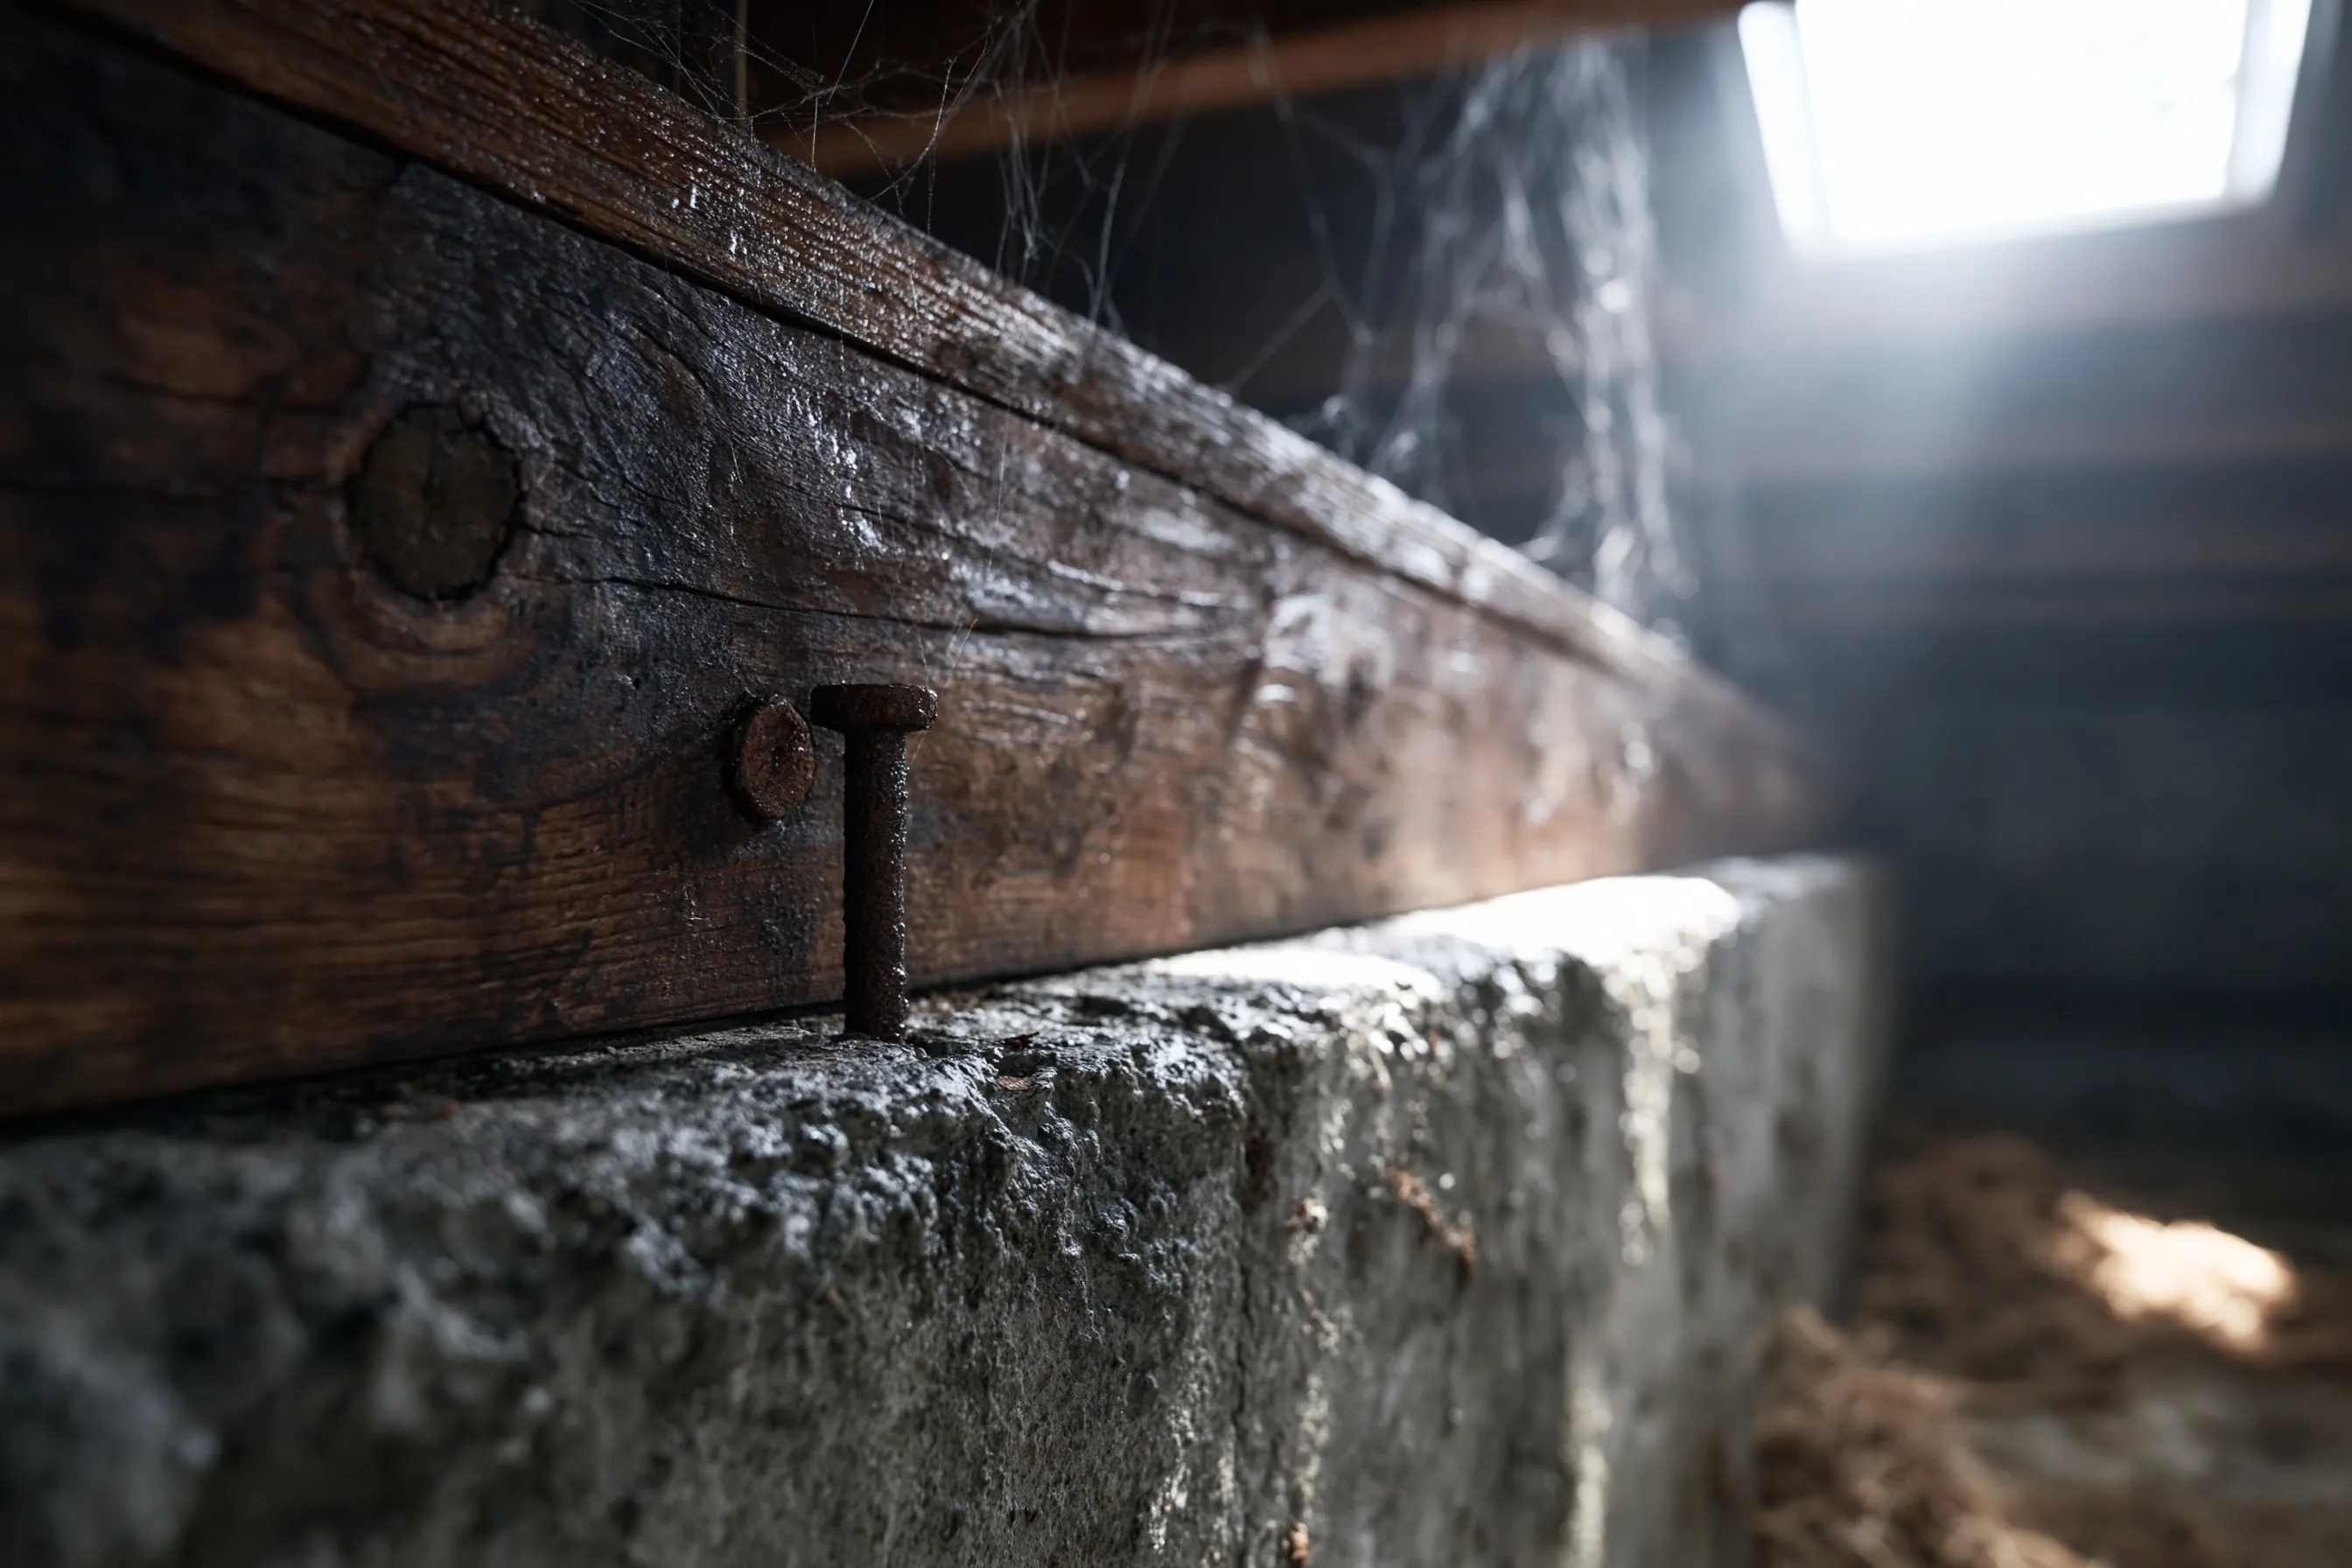
Close view of a dark, damp-looking sill plate and joist on top of a concrete stem wall with a rusted nail or bolt standing in the concrete, cobwebs and light from a vent
Home
House in Carnation with a concrete stem wall and a crawlspace
Original request
A floor that dips along one wall
What shows
A dark, damp-looking sill plate and joist on the wall, with a rusted fastener
Posts
Three posts along that wall that have gone soft or tilted
Not included
Sill plate replacement, quoted separately once it is seen
Cost
$2,900

Scope of work

Temporary supports, three new posts on new pads under the girder along that wall, connectors, and a check of the sill beside them. Replacing the sill or the joists is not part of this cost and is quoted separately once it is seen.

Project overview

In this example, the owners of a house in Carnation feel the floor dip along one wall. In the crawlspace the sill plate on top of the stem wall looks dark and damp, with a rusted fastener in the concrete beside it.

The posts along that wall have gone soft or tilted. The plan replaces three of them, then looks hard at the sill, because new posts under damp, weak wood would not solve the problem.

The goal

The goal is three failed posts replaced and the damp sill looked at and written up, so the next step is a decision rather than a guess.

Process

  1. Before work The wall is probed with a screwdriver to find sound wood, and the damp is traced.
  2. Support Temporary jacks take the load off the three posts.
  3. Replace New posts are set on new pads and connected.
  4. Report The sill and joists are photographed and priced separately if they need work.

Planning right

  • Tell us which wall the floor dips along and whether the dip follows the rain.
  • Ask for photographs of the sill, not just the posts.
  • Ask what is done about the source of the damp.
  • Do not cover the sill with new finishes until it has been seen.

Get a free quoteMore about crawlspace posts and beams

Request a free foundation repair quote

Send the address, say what you see and where, and add a photo if you have one. We'll get back to you soon to arrange a visit or with any questions we have. Estimates are free and there's no obligation.

Call (425) 534-7222

Call (425) 534-7222